Discover our
resources


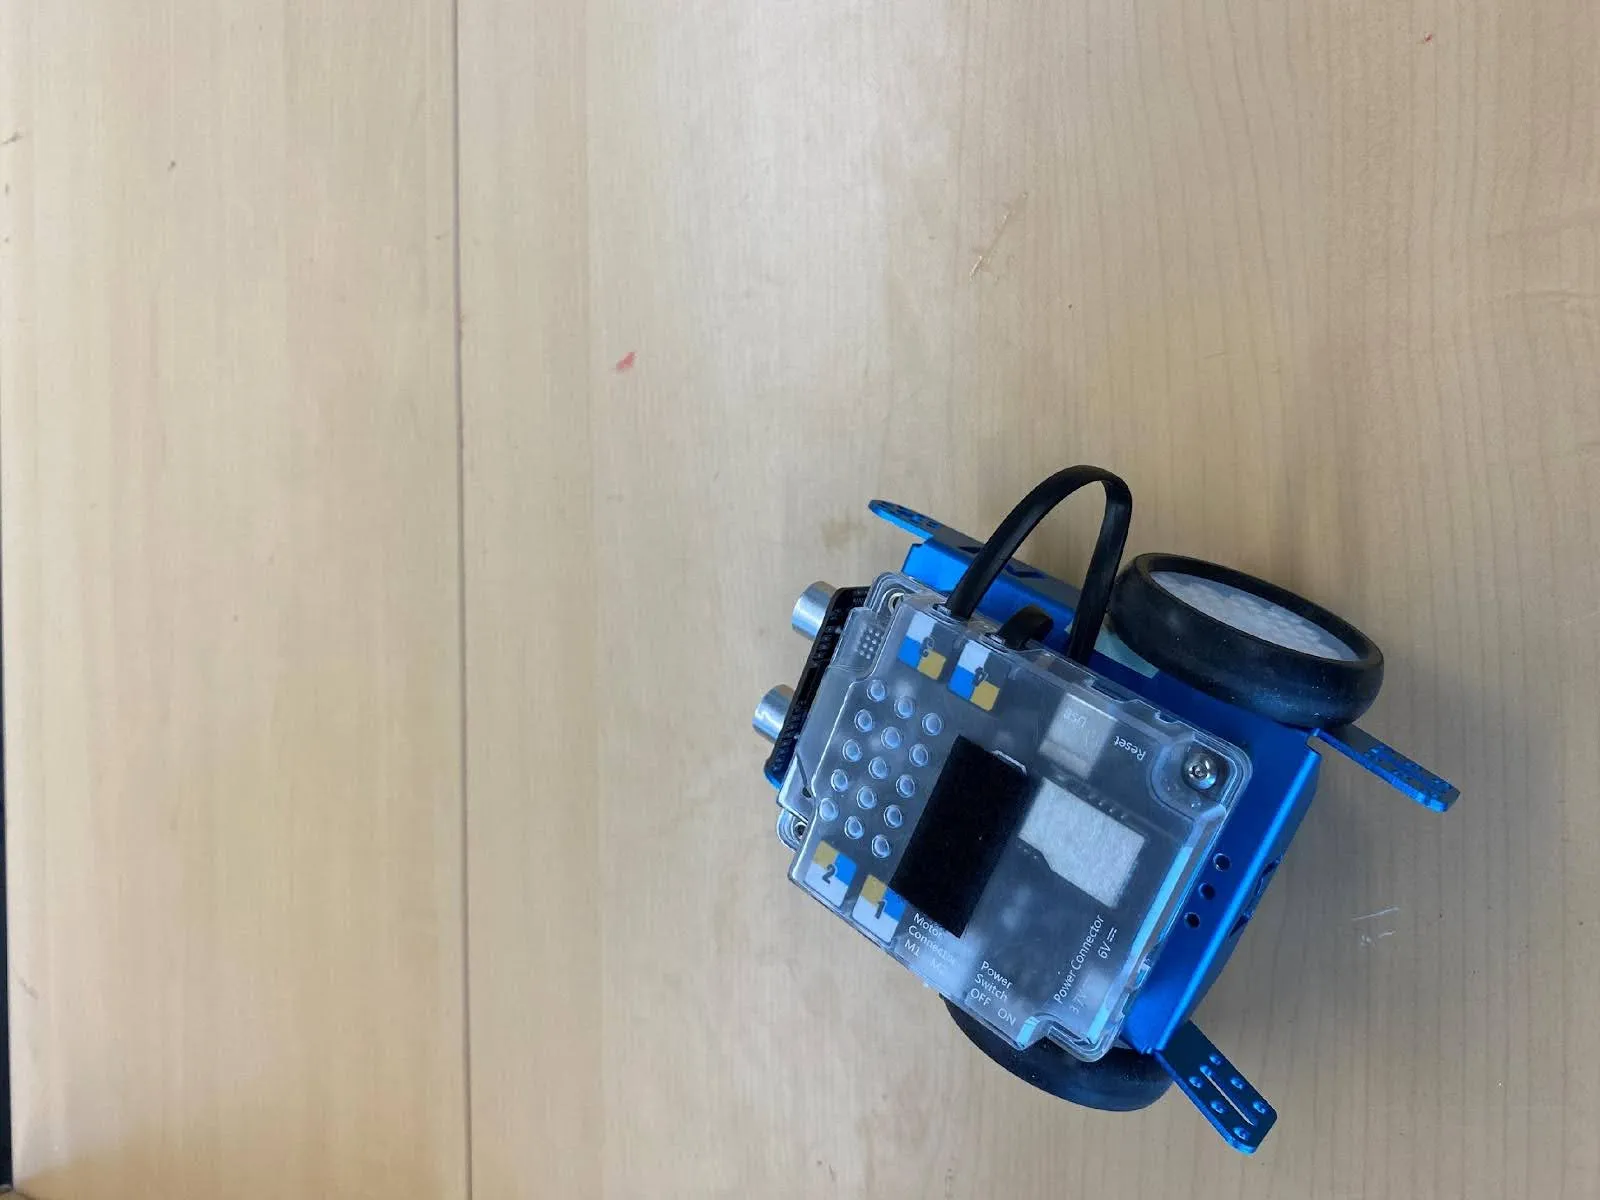
Equipment:
- 1 robot minimum
- 1 computer/robot
- Basic arena
Settings :
- Supervised learning - Obstacle avoidance (simple)
Duration :
30 minutes
Age :
Ages 8 and up
The advantages of this activity :
- Very few data points.
- Easy for younger children to understand.
- Introduces complex notions to further understanding.
Recommended for hands-on learning
This activity introduces AI perfectly, using the ultrasound sensor and explaining in detail how the robot makes a decision. The robot is first trained by the student with a very limited number of data points, then works perfectly, giving us a better understanding of the robot's decision-making.
Video presentation
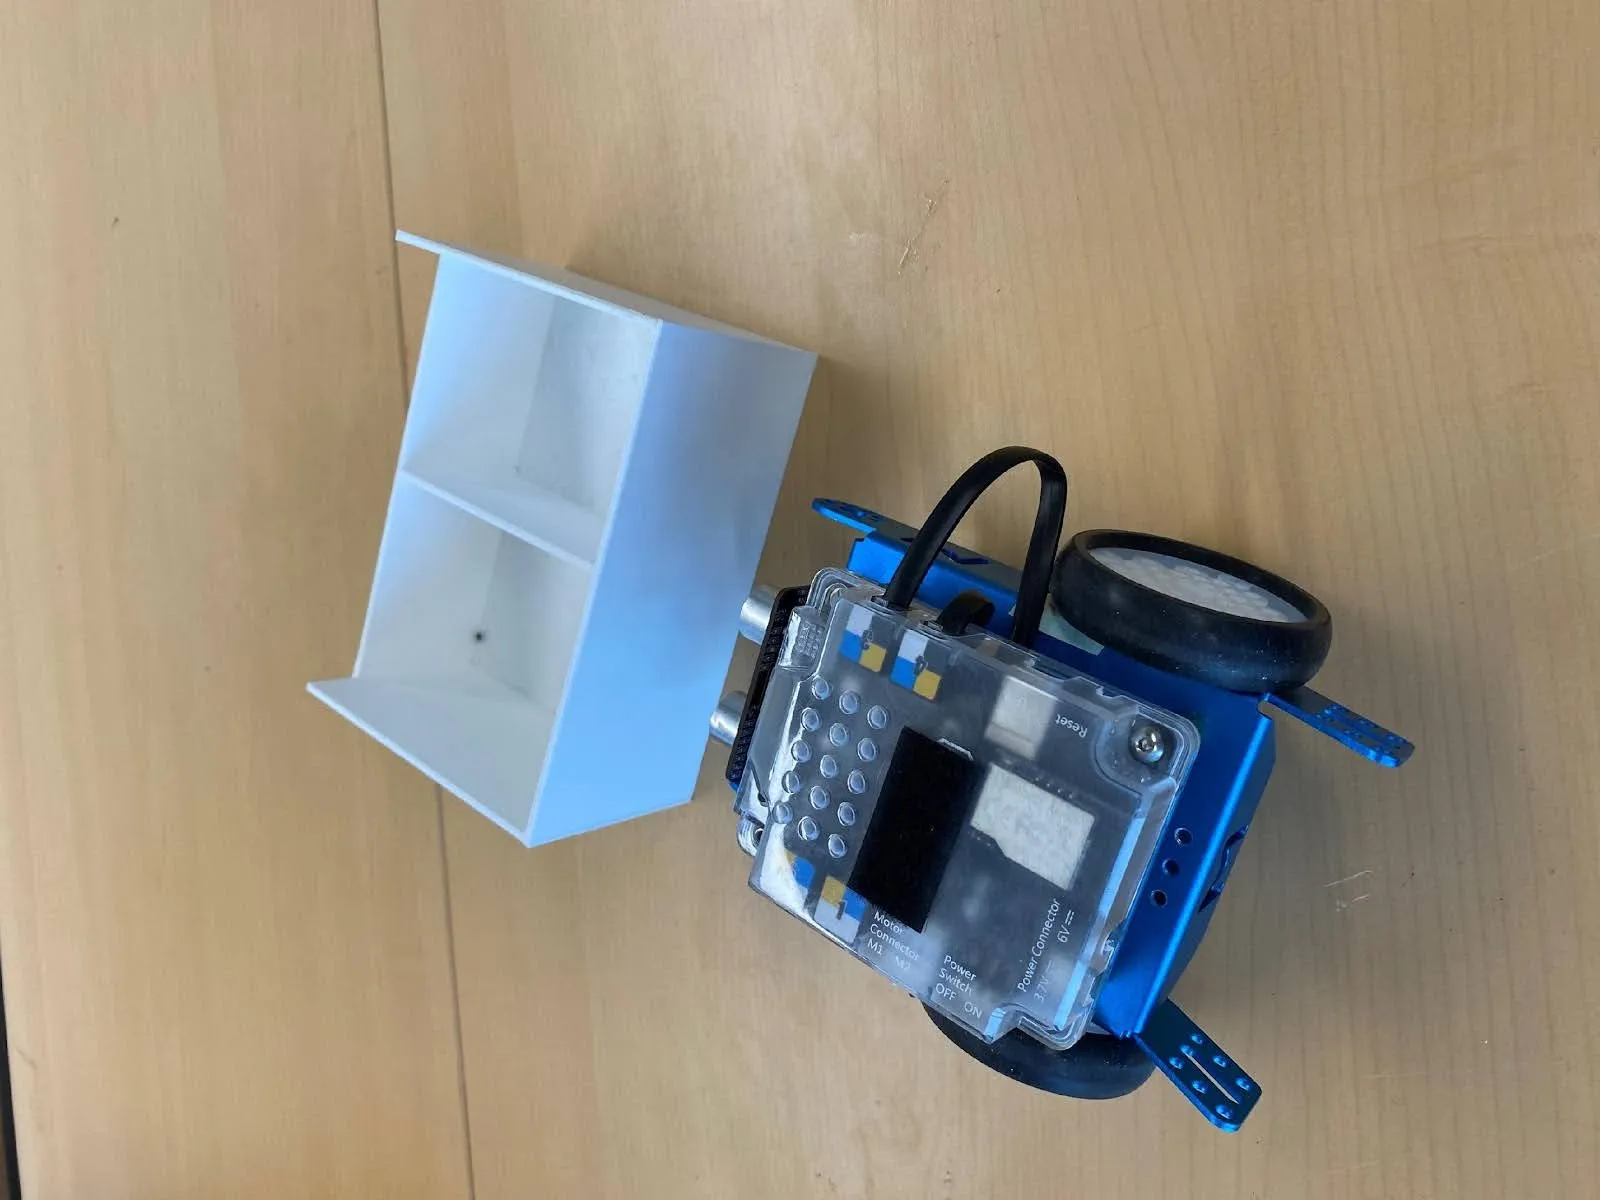
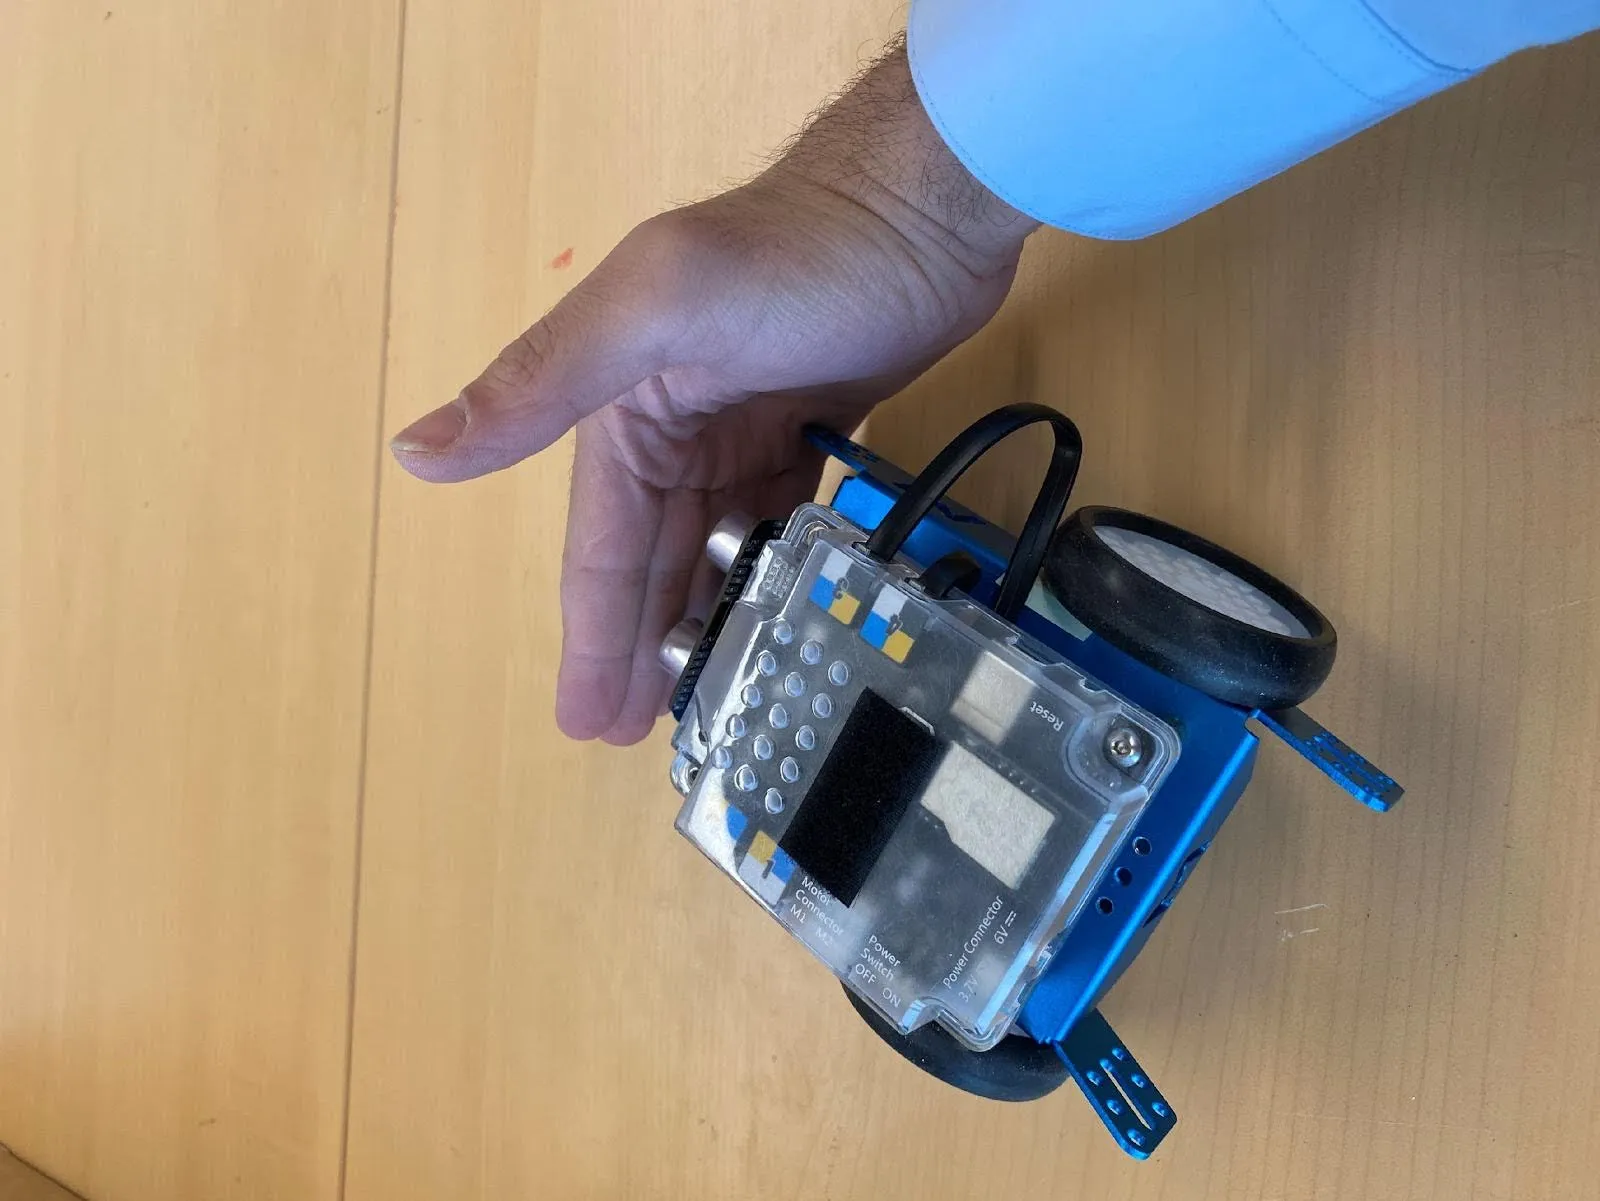
Introduction
Build your arena to form a square. We recommend using an arena designed by Learning Robots, but you can also build your own.
Configuration
The software can be configured manually or automatically.
To configure it automatically :
Parameters > Load example parameters > Supervised learning - Obstacle avoidance (simple)
Configuration can also be carried out manually by following the instructions opposite.
- Sensors > Ultrasound

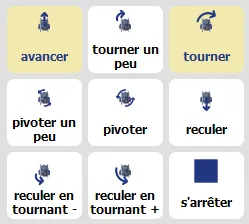
- Actions > Advance , Turn
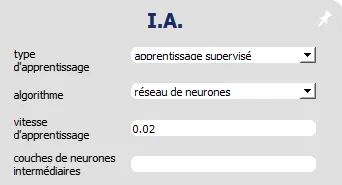
- AI > Learning type "Supervised learning", Algorithm "Neural network", Learning speed "0.02",Intermediate neural layers: empty.
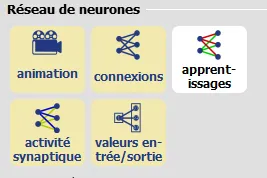
- Visualization > Select: "animation", "connections", "synaptic activity", "input/output values".
Training
The mBot robot can be taught in just two steps:
Teach him to go straight ahead when there is no obstacle.
Teach him to turn (right or left) if there is an obstacle.
Forward :
Clear any objects in front of the robot and press the "⇧" arrow on your keyboard, or click on the "Forward" action on the right of the screen.
Turn :
Place an object in front of the robot and press the "⇦ or ⇨" arrow on your keyboard, or click on the "Turn right" action on the right of the screen.
THIS IS IT!
Your robot is trained! Now press the space bar or click on "autonomous" at the bottom left of the screen and let the robot move freely, reacting to any obstacles in its path.
To remember:
In supervised learning, the AI is trained using examples. The AI adapts its behavior to reproduce these examples.
Understanding
Part 1
How does the robot make decisions?
Deactivate the "Stand-alone" and "Learning" modes by clicking on the corresponding buttons again:
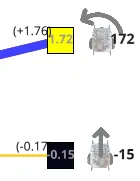
Each small square represents a neuron. Note that on the input neuron (left), the value increases as the distance increases. (the value is equal to the distance in meters). The value of a neuron is called its activation level.
As for the 3 output neurons (right), each obtains a calculated value. The action corresponding to the highest value is the one chosen. If there is no obstacle, the action we give the robot as an example when there is no obstacle obtains the highest value. In our case, this is the "Forward" action.
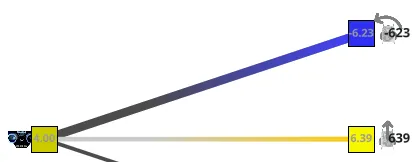
Unobstructed "Advance" = 6.39 "Turn" = -6.23:
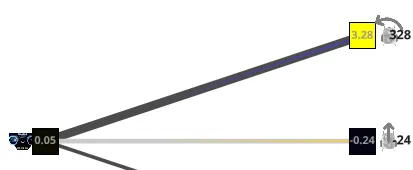
With obstacle "Advance" = -0.24 "Turn" = 3.28:
Part 2
How are neuron activation levels calculated?
Set software to advanced mode: Settings > Settings display > Advanced.
Then display the values we're interested in: View > Connection values.

6 new values appear:
The 3 "weights" of connections between neurons. (in black, next to the * symbol)
The 3 "neuronal biases" or "resting values": placed on the connections next to each output neuron. (In brackets)
The highest output value will be chosen as the action by the robot. These values are calculated using the following formula:
Output = Input * Connection + Bias

4.00*2.50+(-0.79)=9.20
Part 3
Note that the above equation has the same form as the equation of a straight line:
y= a x + b.
y = Output, a = Connection weight, x = Input, b = Bias
By putting the formula in this form, we understand that modifying a, x or b will change the y result.
We can check the formula by modifying one of these values. Among these values, there is only one that we can modify.
This is the input(x). In effect, x represents the input neuron. In our case, the input neuron is the robot's ultrasonic sensor. To modify the value of x, simply move your hand or an object towards or away from the robot's ultrasonic sensor.
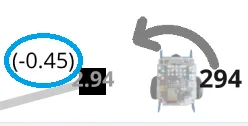
Very close obstacle
Putting your hand very close to the ultrasonic sensor reduces the value of the input x, since this is equal to the distance measured by the sensor.
When the input value x is small, the activation levels y of the output neurons approach the bias values b.
In this case, the Turn action wins, as it has the highest bias value.
Move the obstacle away
By moving your hand away from the sensor, you gradually increase the value of input x.
As the value of input x increases , the activation levels y of output neurons move away from neuronal bias b. The value of the Turn action decreases as its connection weight is negative, while the value of the Forward action increases as its connection weight is positive.

Above a certain value of x, the Advance action wins out because its value exceeds the others.
Part 4
Reset AI

When the AI is reset, the connection(a) and bias(b) values are replaced by random values. See for yourself!
When learning is in progress ("Learning" button active and "Experience memory" not empty), the weights of connections and biases evolve: this is automatic learning.
+ Experience memory : 36 = Variation of (+3.78)
On the other hand, when learning is stopped (white "Learn" button or empty "Experience memory"), the connection and bias values freeze.
OUExperience memory: empty = Fixation of (+3.78)
To remember:
Supervised learning is a machine learning method that enables a neural network to learn a behavior from examples given by humans.
As a neural network learns, its internal parameters (connection weights and bias values) evolve. They freeze when learning is complete.
Bonus
If you wish, you can add actions to the robot and improve its training to make its movements more complex, more natural, and so that it can get out of dead ends more easily.
In the "Actions" section, for example, add "Move back" and teach the robot to move back if it gets too close to an obstacle.
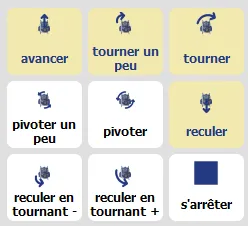
You can also set the degree of turn. In the "Actions" pane, activate the "Turn slightly" action. You can then train the robot to turn more or less sharply, depending on the distance to the obstacle.
Note: When the robot runs diagonally across an obstacle, the ultrasonic sensor doesn't detect it properly. Do you know why?
To solve this problem, go to Activity 4: Complex obstacle avoidance