Discover our
resources


Equipment:
- 1 robot minimum
- 1 computer/robot
- Flat environment
Settings :
- Supervised learning - Obstacle avoidance (complex)
Duration :
1h30 (2x45 min)
Age :
Ages 8 and up
Recommended for hands-on learning
Teach your robot to react to specific situations!
This activity will teach you how to set up the AlphAI software and its neural network to run Mbot in a simple environment.
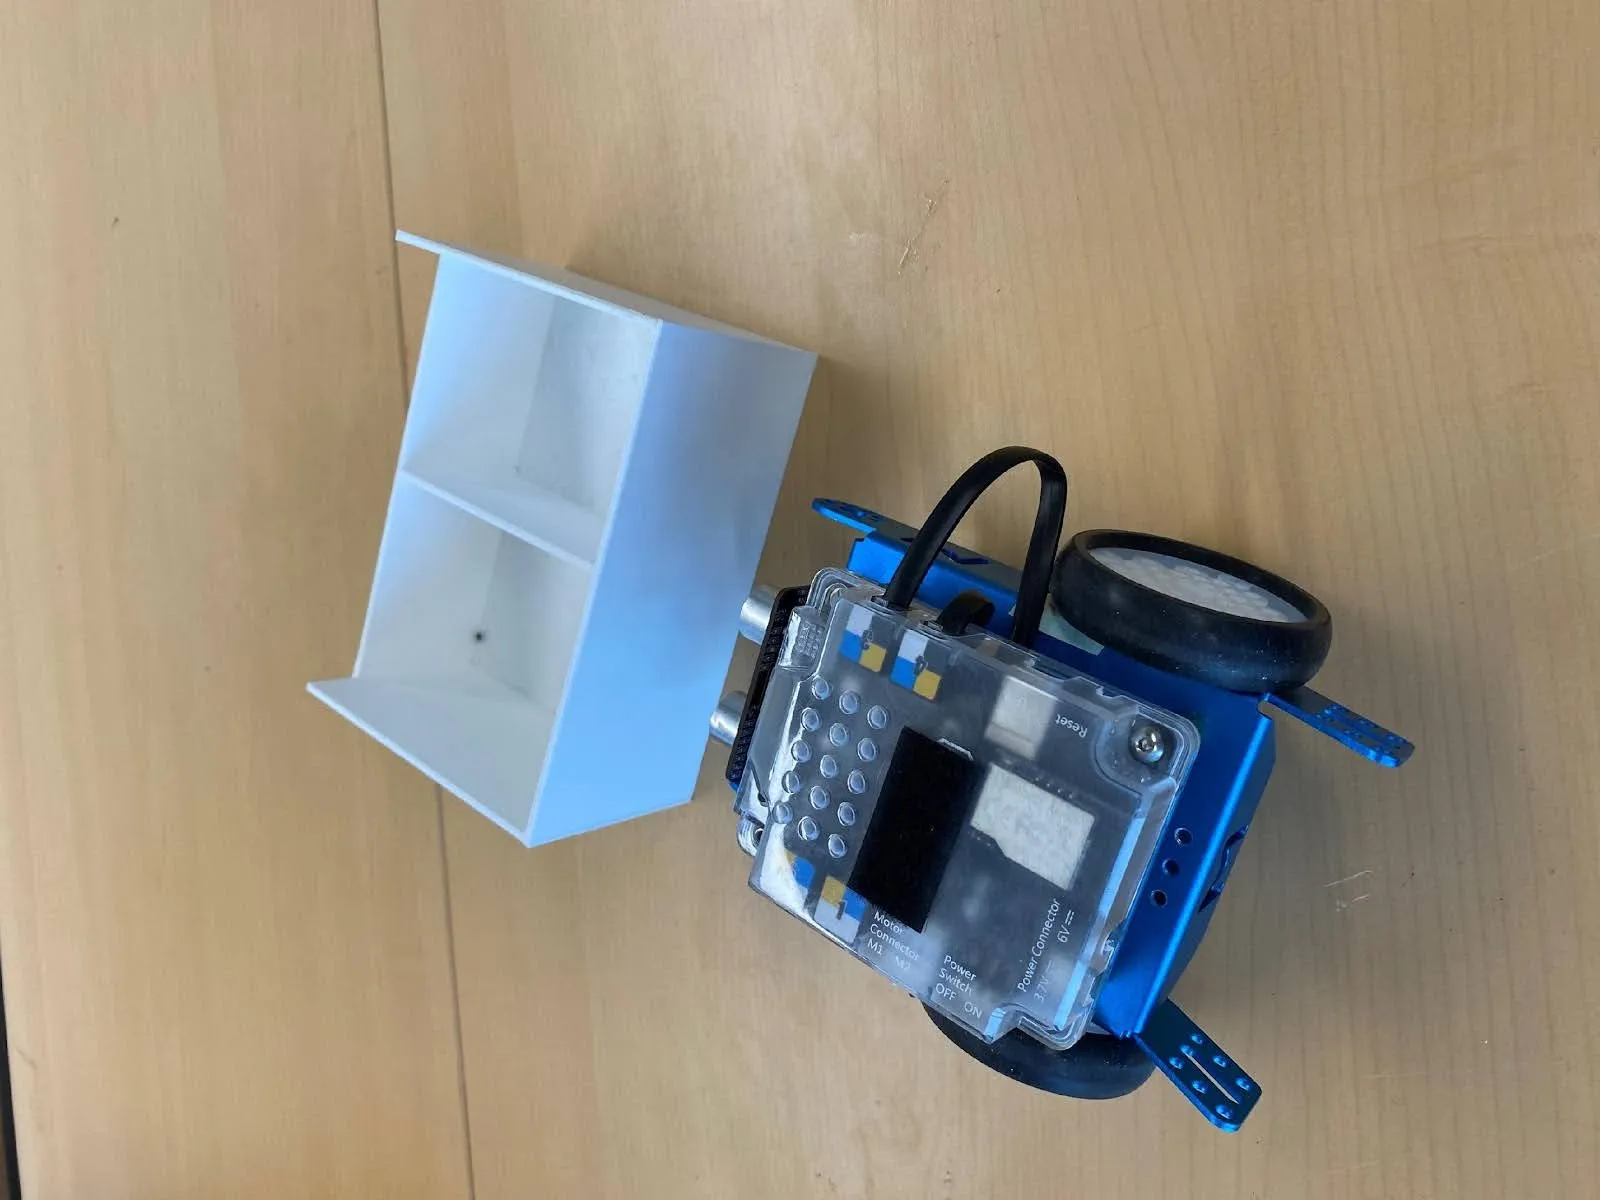
Hardware
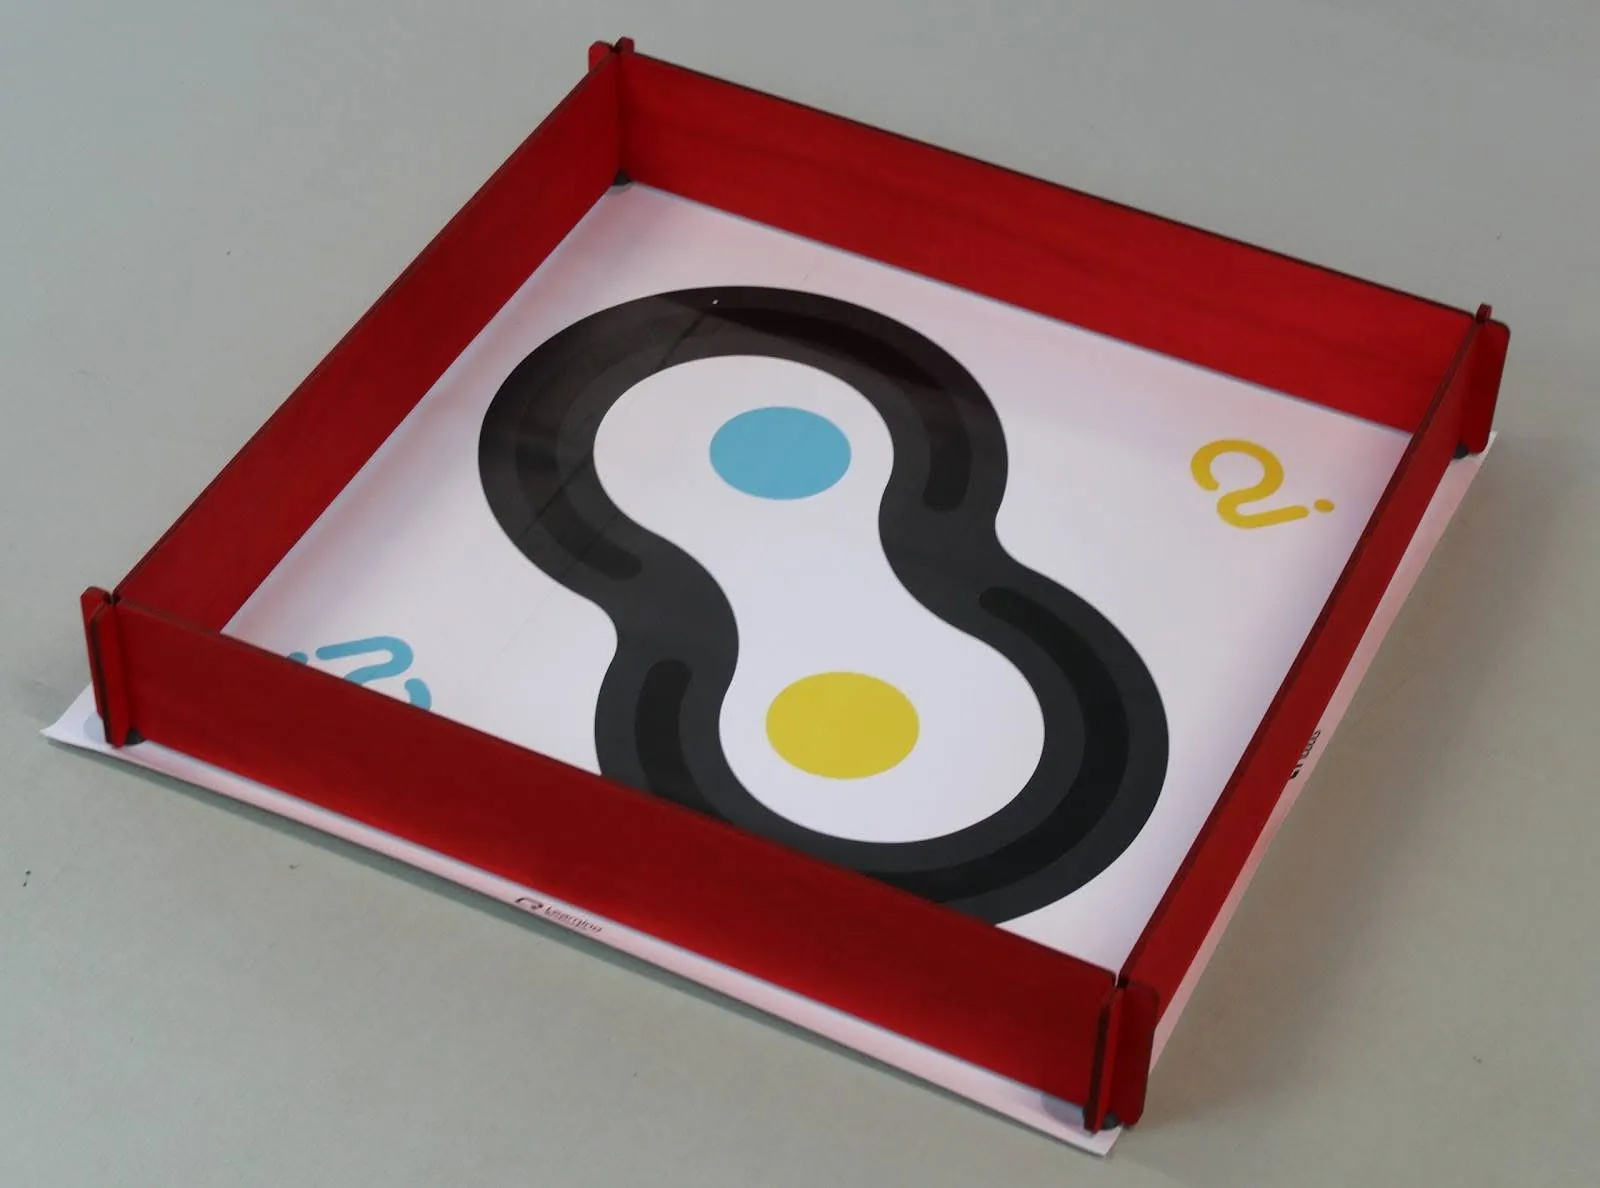
To complete this activity, you'll need to assemble a small square arena:
We recommend you use our individual arena, available on our website or from our distributors.
You can also create your own arena. You'll need a clean, flat surface (e.g. a table), surrounded by barriers of a different color from the ground, and strong enough to stop the robot.
Configuration
The software can be configured manually or automatically. To configure automatically : Parameters > Load example parameters > Supervised learning - Obstacle avoidance (simple). Alternatively, you can configure the software manually by following the instructions opposite.
- Sensors > Ultrasonic and motion detection


- Actions > Advance , Turn , Reverse while turning

- AI > Learning type "Supervised learning", Algorithm "Neural network", Learning speed "0.02", Intermediate neural layers: 15.

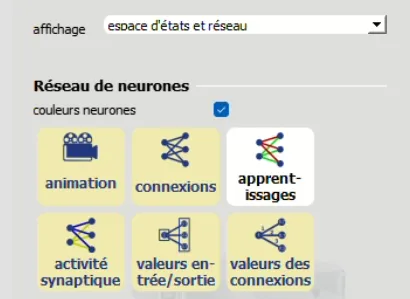
- Visualization > Select: "animation", "connections", "synaptic activity", "input/output values".
Ultra-sonic sensor - Concept
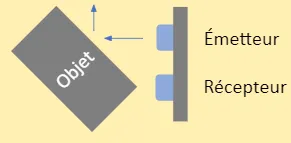
During the first activity (simple obstacle avoidance), we noticed at the end that the robot didn't detect the wall in front of it when it was diagonally positioned. This is because the ultrasonic sensor transmitter works by sending out an ultrasonic wave which bounces off the wall and returns to the receiver.
The ultrasound then calculates the distance to the object in front of it according to the time it takes for the wave to reach the receiver.

But if the object is diagonal, the path of the emitted wave will be much greater, and the distance calculated will be absurd. The robot therefore finds itself stuck against the wall without being able to move forward, since the dominant action when it sees no obstacle is "Move forward".
Further information
Theultrasonic sensor measures the time it takes for the wave to return to the receiver. Speed is equal to distance divided by time V=d/t, so distance is speed times time d=V×t. The sensor knows how fast the wave is travelling (at the speed of sound ~330 m/s), and when it emitted the wave. All it has to do is divide this value by 2, as the ultrasonic wave travels twice between the transducer and the object, once from the transmitter to the object and a second time from the object to the receiver.
Distance calculationfor an ultrasonic sensor: (V×t)/2
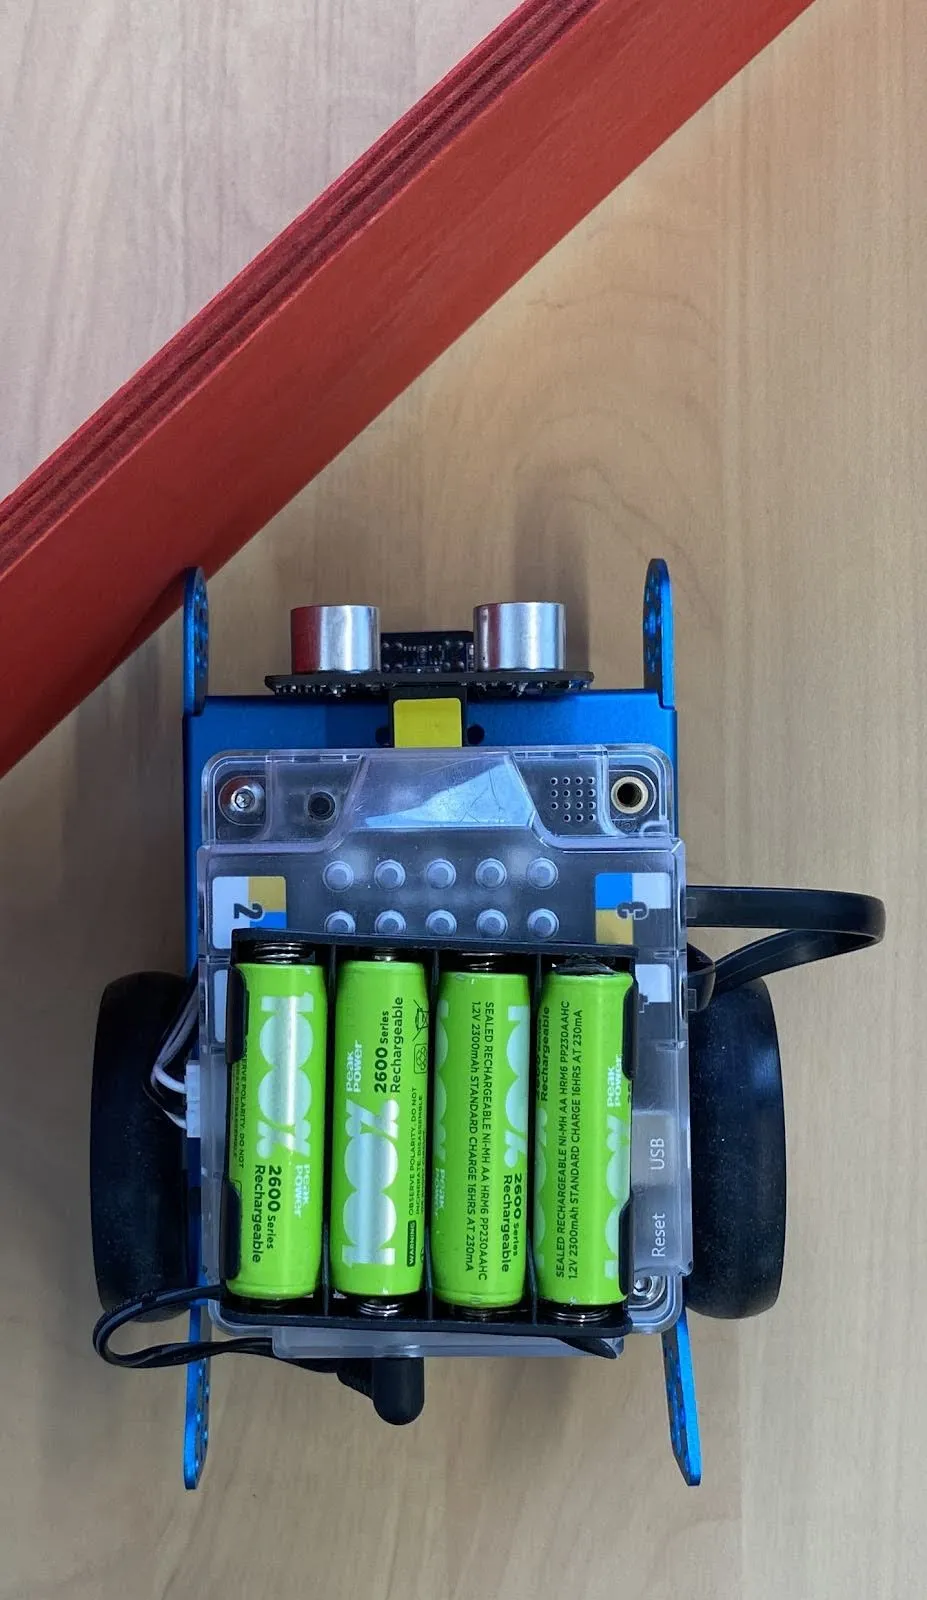
Training
Robot training for this activity is slightly more complex
Avancer
Clear any objects in front of the robot and press the "⇧" arrow on your keyboard, or click on the "Forward" action on the right of the screen.
= Forward
Turn
Place an object in front of the robot and press the "⇦ or ⇨" arrow on your keyboard, or click on the "Turn right" action on the right of the screen.
Screenshot - mBot - A1 - 2b
=Turn
Turning back
Step 1: Activate the wheel lock sensor
Deactivate learning mode
Place the robot against the wall
Click forward several times until the wheel lock sensor activates
Step 2: Don't touch the robot again
Step 3: Activate learning mode
Fourth step: Click on Backspace to turn left or right


NB: You must take care to choose only 1 side, right or left, before pressing the "Back" button. If you don't, the robot won't know which side to choose, and this will compromise the clarity of the exercise.
THIS ISIT!
Yourrobot is trained! Now press the space bar or click on "autonomous" at the bottom left of the screen and let the robot move freely around the arena, reacting to obstacles in its path.
Understanding
Motion detection
To solve the problem of the ultrasonic sensor, we've added a new sensor: a blocking detector. This sensor enables the software to determine whether or not the robot is blocked. To do this, the sensor analyzes the calculated distance of the ultrasound. If this remains the same over several actions, the sensor is activated and the robot understands that it is blocked.
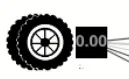
The robot is not blocked:
The sensor displays "1".
The robot is blocked but the sensor still displays "1".
If after several actions the value calculated by the ultrasound is identical, the sensor displays "0".
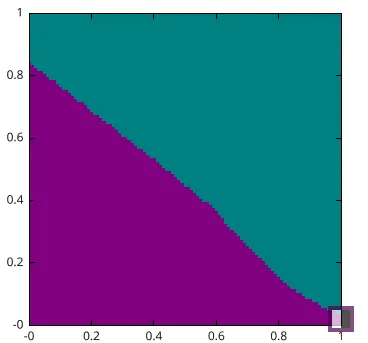
Status graph
The first thing that jumps out at you when you launch this activity is the presence of what, at first glance, is a very complex graph. This graph is called the "state space". This graph shows the choices the robot makes according to its "state".
Each of the sensors of this activity is represented in the graph :
Y-axis = ultrasonic sensor.
X-axis = blocking sensor.
The state of the robot is represented by a small square. To understand better, try moving your hand towards and away from the robot, the small square will move along the y-axis.
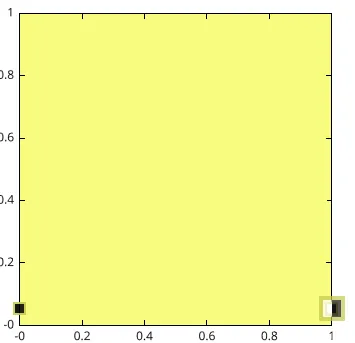
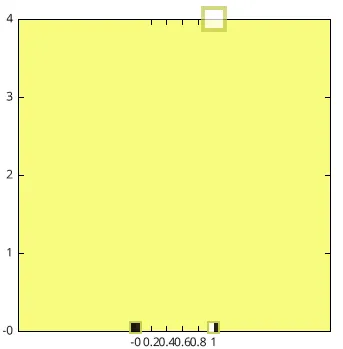
If you block the robot against an object and move it forward several times, the wheel lock sensor will light up and the square will move along the x-axis.
Finally, the colors represent each of the possible actions with the robot (yellow = move forward, green = turn right ...).


During training, you noticed that when you perform an action, the graph will change color. As colors represent actions, this means that the action the robot chooses will be defined by its "state" in the state graph.
Example
Icithe experiment memory is empty. The colors present in the graph have therefore been chosen randomly.
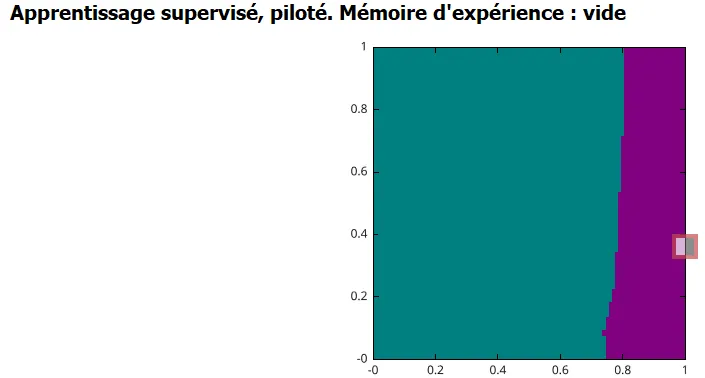
In stand-alone mode, the robot would move backwards to the right until it locks, and then move backwards to the left until it unlocks.
Here we've taught him to move forward unhindered and to turn right at an obstacle.
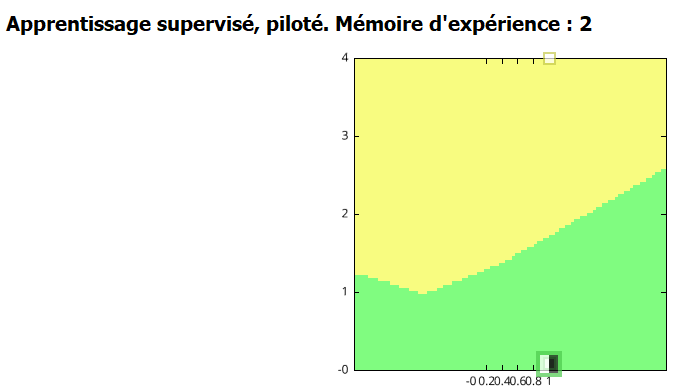
In autonomous mode, the robot will move forward until it encounters an obstacle, then turn right until it is clear of the obstacle.
Challenge
In autonomy, how would the robot react in these different arrangements (without taking into account the robot's current state in state space)?


KNN algorithm
Deactivate the "Stand-alone" and "Learning" modes by pressing the corresponding buttons again:
The KNN (K nearest neighbors) algorithm, also known as the K nearest neighbors algorithm, is a simpler-to-understand artificial intelligence algorithm.
This activity takes place in the same way as the last one (obstacle avoidance - complex) and does the same thing, but in a different way. You'll have noticed that the state graph is not colored in the same way. Whereas the state graph took a little while to form, and the colors were not instantly fixed, here the coloring limit is drawn directly and at once as soon as you click on an action.
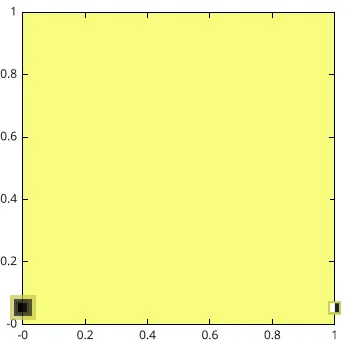
In this algorithm, the robot walks through a space...

And every data point learned by the robot is stored in this same space.

To make a decision, the robot simply chooses the data point closest to its position in space.
The K-nearest neighbor algorithm is much simpler to understand and allows us, the users, to deliver a smaller amount of data to run the AI, the margin of error is greatly reduced.
As mentioned above, the colors are formed instantaneously, and only represent the perimeter in which, in relation to other data points, the robot's position will be closer to that point.
Example: Here, the robot is closer to the square corresponding to the turn left action, so in autonomy it would turn left.
Remind: In the neural network algorithm for making a decision, the robot made this calculation
Output= Input * Connection + Bias
